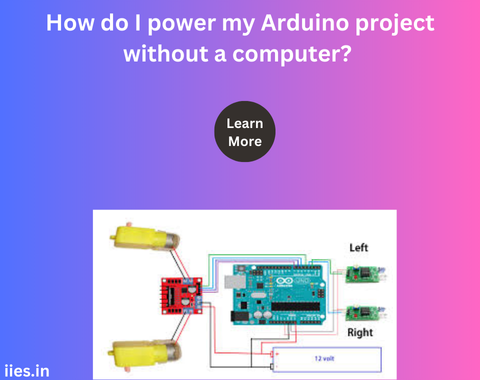
1. Using a Battery
a. AA or AAA Batteries
You can power your Arduino using AA or AAA batteries. Here’s how:
- Battery Holder: Get a battery holder for 4 AA or AAA batteries. Four AA or AAA batteries provide a total of 6V.
- Voltage Regulation: The Arduino’s onboard voltage regulator can handle this input and provide the stable 5V the Arduino needs.
- Connection: Connect the positive terminal of the battery holder to the Vin pin of the Arduino and the negative terminal to the GND pin.
b. 9V Battery
A 9V battery is another common option:
- Battery Snap Connector: Use a 9V battery snap connector.
- Connection: Connect the red wire to the Vin pin and the black wire to the GND pin on the Arduino.
- Voltage Regulation: The Arduino’s onboard voltage regulator will convert the 9V to 5V.
c. Lithium Polymer (LiPo) Batteries
LiPo batteries are compact and rechargeable:
- Voltage: Choose a LiPo battery that provides between 7.4V (2S) and 11.1V (3S).
- Connection: Connect the battery’s positive lead to the Vin pin and the negative lead to the GND pin.
- Safety: Use a battery protection circuit to prevent over-discharge.
2. Using a DC Power Supply
A DC power supply is a reliable and adjustable method:
- Voltage Range: Ensure the power supply can provide a voltage between 7V and 12V.
- Connection: Use a DC barrel jack adapter to connect the power supply to the Arduino’s power jack.
- Voltage Regulation: The onboard regulator will handle the rest.
3. Using a USB Power Bank
A USB power bank, commonly used for charging phones, can also power your Arduino:
- USB Cable: Use a standard USB cable to connect the power bank to the Arduino’s USB port.
- Voltage and Current: Ensure the power bank provides 5V and sufficient current (at least 500mA).
4. Using a Solar Panel
For environmentally friendly projects, a solar panel can be used:
- Solar Panel: Choose a solar panel that provides 6V or higher.
- Battery Storage: Combine with a rechargeable battery to store energy for use when sunlight is not available.
- Charge Controller: Use a charge controller to manage charging and discharging, ensuring a stable power supply to the Arduino.
- Connection: Connect the charge controller’s output to the Arduino’s Vin and GND pins.
5. Using an AC-to-DC Adapter
For stationary projects near an electrical outlet:
- Adapter Specifications: Use an adapter that provides an output voltage between 7V and 12V.
- Connection: Use a DC barrel jack adapter to connect the power to the Arduino’s power jack.
Power Considerations
Regardless of the power source, it’s crucial to ensure:
- Correct Voltage: Providing the correct voltage is essential to prevent damage to your Arduino.
- Sufficient Current: Ensure your power source can supply enough current for your Arduino and any connected components.
- Polarity: Always connect the positive and negative terminals correctly to avoid damaging your Arduino.

