-
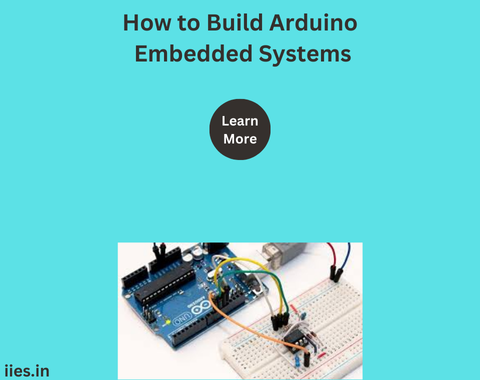
Microcontroller: At the heart of any Arduino board lies the microcontroller, a compact integrated circuit that acts as the brain of the system. The microcontroller executes the code, processes input from sensors, and controls output devices. Different Arduino boards come with different microcontrollers, such as the ATmega328P on the Arduino Uno or the SAMD21 on the Arduino Zero.
-
Power Supply: The power supply provides the necessary voltage and current to operate the microcontroller and other connected components. Arduino boards can be powered via USB, batteries, or external power adapters, depending on the application’s requirements.
-
Input Devices: Inputs in an embedded system are sensors or switches that provide data to the microcontroller. These inputs can range from simple buttons to complex sensors like temperature sensors, light sensors, or accelerometers. The microcontroller reads these inputs to make decisions or trigger certain actions.
-
Output Devices: Outputs are the components controlled by the microcontroller, such as LEDs, motors, displays, or relays. The microcontroller sends signals to these devices to produce the desired outcome, such as turning on an LED, rotating a motor, or displaying information on an LCD screen.
-
Communication Interfaces: Many embedded systems require communication with other systems or devices. Arduino boards support various communication protocols, including serial communication (UART), I2C, and SPI. These interfaces allow the microcontroller to send and receive data from external devices like other microcontrollers, sensors, or even a computer.
Designing an Arduino-Based Embedded System
1. Define the Objective
The first step in designing an Arduino-based embedded system is to clearly define the system’s objective. This involves understanding what specific task or set of tasks the system needs to accomplish. For example, the objective might be to create a temperature monitoring system that triggers an alarm when the temperature exceeds a certain threshold.
2. Select the Appropriate Arduino Board
Once the objective is defined, the next step is to choose the appropriate Arduino board. The choice of board depends on various factors, including the complexity of the application, the number of I/O pins required, power consumption considerations, and available communication interfaces. For instance, the Arduino Uno is a good choice for simple projects, while the Arduino Mega might be more suitable for complex systems requiring more I/O pins.
3. Choose the Sensors and Actuators
Based on the system’s objectives, select the appropriate sensors and actuators. Sensors are chosen based on the type of data required (e.g., temperature, light, motion), and actuators are selected based on the desired outputs (e.g., light, sound, movement). It’s essential to ensure that the selected components are compatible with the chosen Arduino board and that they operate within the board’s voltage and current limits.
4. Design the Circuit
Designing the circuit involves connecting the selected sensors, actuators, and other components to the Arduino board. The circuit design should consider factors like power distribution, signal integrity, and the need for any additional components such as resistors, capacitors, or transistors. Circuit design software like Fritzing or Tinkercad can be helpful in visualizing and testing the circuit before physical assembly.
5. Write the Code
The next step is to write the code that will run on the Arduino microcontroller. The code is written in the Arduino programming language, which is based on C/C++. The program, often referred to as a sketch, includes the logic for processing input data, making decisions, and controlling the outputs. The Arduino IDE provides a simple environment to write, compile, and upload the code to the Arduino board.
6. Test and Debug
Once the code is uploaded to the Arduino board, the system should be tested to ensure it functions as intended. Testing involves running the system under various conditions to check its response to inputs and its control of outputs. Debugging may be necessary to correct any issues or refine the system’s performance. Tools like the serial monitor in the Arduino IDE can be useful for debugging by providing real-time feedback from the microcontroller.
7. Deploy the System
After successful testing and debugging, the system is ready for deployment. Deployment may involve placing the system in a protective enclosure, mounting it in its intended location, and ensuring reliable power and communication connections. In some cases, the system might also require further optimization for power efficiency, speed, or durability, depending on the application.

