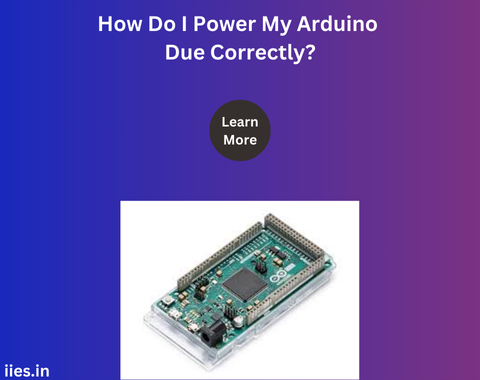
The Arduino Due is a powerful microcontroller board based on the Atmel SAM3X8E ARM Cortex-M3 CPU, offering robust performance for complex projects. However, ensuring that your Arduino Due is powered correctly is crucial to maintaining its functionality and longevity. Proper power management not only prevents potential damage but also optimizes the board’s performance. This article will delve into the theoretical aspects of powering your Arduino Due correctly, exploring the various power options and the best practices to follow.
The Arduino Due provides several power input options, each suited for different scenarios:
USB Power: The Arduino Due can be powered via the USB connection, which supplies 5V directly to the board. This option is convenient for development and testing phases, where the board is connected to a computer. The USB power is regulated internally to 3.3V, the operating voltage of the Due.
External Power Supply (Barrel Jack): The barrel jack allows you to power the Arduino Due with an external power supply. The recommended voltage range for this input is 7-12V. An onboard voltage regulator steps down this input to 5V, which is further regulated to 3.3V. This method is ideal for standalone projects that require more power than USB can provide.
Vin Pin: The Vin pin is another method for supplying external power to the Arduino Due. Similar to the barrel jack, this pin expects a voltage between 7-12V. This input bypasses the onboard USB circuitry, making it suitable for projects where minimal noise from USB power is desired.
Selecting the Right Power Source: The choice of power source depends on your project’s needs. For low-power applications or when connected to a computer, USB power is sufficient. For more demanding applications, using an external power supply via the barrel jack or Vin pin is advisable.
Voltage and Current Considerations: Ensure that the voltage supplied to the board is within the recommended range (7-12V) for the barrel jack and Vin pin. Supplying a voltage outside this range can damage the board. Additionally, consider the current requirements of your project. The Arduino Due can draw up to 800mA from the external power supply, but if you are powering additional components, ensure that the supply can handle the total current draw.
Avoiding Overheating: The onboard voltage regulators are designed to step down the input voltage efficiently, but excessive input voltage can cause them to overheat. To minimize heat dissipation, it’s best to use an external power supply that is as close as possible to 7V, the lower end of the recommended range.
Using Power Filtering Techniques: Noise from the power supply can affect the performance of sensitive analog and digital components. Implementing capacitors across the power lines can help filter out high-frequency noise, ensuring stable operation.
Proper Grounding: Ensure that all ground connections (GND) are securely connected. A common ground reference is critical for the proper operation of the board and any peripherals connected to it.
Board Not Powering Up: If the Arduino Due doesn’t power up, check the input voltage to ensure it’s within the acceptable range. Also, verify that the power source is functioning correctly.
Unexpected Resets or Unstable Operation: If the board resets unexpectedly or behaves erratically, it may be due to insufficient power or noise in the power supply. In such cases, switching to a more stable power source or adding additional filtering capacitors might resolve the issue.
Overheating Regulators: If the voltage regulators are overheating, reduce the input voltage or improve ventilation around the board. In some cases, using an external 3.3V regulator may be necessary for high-power applications.
Powering your Arduino Due correctly is vital to harnessing its full potential and ensuring reliable operation. By understanding the various power input options and following best practices for power management, you can prevent common issues and enhance the longevity of your Arduino projects. Whether you’re powering the board via USB for a small-scale project or using an external supply for more demanding applications, careful consideration of voltage, current, and grounding is essential. By adhering to these principles, you can ensure that your Arduino Due operates smoothly and efficiently.
Indian Institute of Embedded Systems – IIES