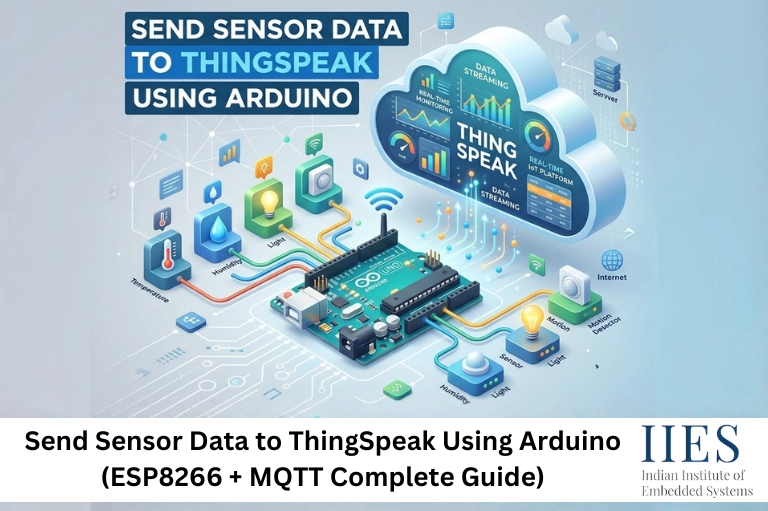
Overview
One of the core functions of IoT is collecting sensor data and sending it to the cloud for:
- Monitoring
- Analysis
- Automation
Two widely used methods are:
- ThingSpeak: A cloud platform for storing and visualizing data
- MQTT (Message Queuing Telemetry Transport): A lightweight protocol for real-time communication
Both are powerful, and understanding when to use each is key to building efficient IoT systems.

How to Send Sensor Data to ThingSpeak Using Arduino
- Connect
- to Wi-Fi
- Read sensor data (e.g., DHT11)
- Create a ThingSpeak channel and copy the Write API key
- Send data using ThingSpeak.writeFields()
- Add a delay of at least 15–20 seconds between updates
Hardware and Software Requirements
Hardware
- Arduino (Uno, Nano, Mega, ESP8266, ESP32)
- ESP8266 Wi-Fi module (ESP-01 or NodeMCU)
- Sensors: DHT11/DHT22, LM35, MQ-2, LDR
- Breadboard and jumper wires
- Logic level converter (if using Arduino Uno with ESP8266)
Software
- Arduino IDE
- Libraries:
- ESP8266WiFi.h
- ThingSpeak.h
- PubSubClient.h
- DHT.h
Circuit Connection (ESP8266 + Sensor)
- VCC → 3.3V
- GND → GND
- Data → D2 (or any digital pin)
Ensure proper voltage levels when connecting ESP8266 with Arduino Uno.
Using an ESP8266 to Connect Arduino to the Internet
Using the ESP8266/NodeMCU directly:
#include
const char* ssid = "YOUR_SSID";
const char* password = "YOUR_PASSWORD";
void setup() {
 Serial.begin(115200);
 WiFi.begin(ssid, password);
 Serial.print("Connecting to WiFi...");
 while (WiFi.status() != WL_CONNECTED) {
   delay(500);
   Serial.print(".");
 }
 Serial.println("Connected!");
}
Important Notes
- Always check WiFi.status() before sending data
- Add auto-reconnect logic for reliability
- Avoid transmitting data when disconnected
This step is critical for arduino uno esp8266 connect to wifi and stable IoT communication.
Method 1: Data Transmission to ThingSpeak
Sensor data can be uploaded using HTTP GET or POST requests.
a) Configuring ThingSpeak
- Create a ThingSpeak account
- Create a new channel
- Enable fields (e.g., Field1 = Temperature)
- Copy your Write API Key
b) Full Arduino Sketch (ThingSpeak + DHT11)
#include
#include
#include "ThingSpeak.h"
#define DHTPIN 2
#define DHTTYPE DHT11
DHT dht(DHTPIN, DHTTYPE);
const char* ssid = "YOUR_SSID";
const char* password = "YOUR_PASSWORD";
unsigned long myChannelNumber = YOUR_CHANNEL_NUMBER;
const char* myWriteAPIKey = "YOUR_WRITE_API_KEY";
WiFiClient client;
void setup() {
 Serial.begin(115200);
 WiFi.begin(ssid, password);
 dht.begin();
 ThingSpeak.begin(client);
}
void loop() {
 float h = dht.readHumidity();
 float t = dht.readTemperature();
 if (isnan(h) || isnan(t)) {
   Serial.println("Failed to read from DHT sensor!");
   return;
 }
 ThingSpeak.setField(1, t);
 ThingSpeak.setField(2, h);
 int x = ThingSpeak.writeFields(myChannelNumber, myWriteAPIKey);
 if (x == 200) {
   Serial.println("Channel update successful.");
 } else {
   Serial.println("Problem updating channel. HTTP error code " + String(x));
 }
 delay(20000); // Minimum delay for free accounts
}
c) Production Notes
- Retry failed requests to prevent data loss
- Use NTP for accurate timestamps
- Batch multiple readings to reduce API calls
- Monitor HTTP response codes
This workflow is the foundation of sending data to ThingSpeak and building a ThingSpeak dashboard
Common Problems When Sending Data to ThingSpeak Using Arduino
Even when the code is correct, data may not appear on your ThingSpeak dashboard due to a few common issues:
- Incorrect API Key: Ensure the Write API key matches your channel exactly
- Wi-Fi Connection Failure: Verify SSID/password and confirm WiFi.status() == WL_CONNECTED
- Data Not Updating: Check if fields are enabled in your ThingSpeak channel
- Delay Too Short: ThingSpeak requires a minimum 15–20 seconds delay between updates
Quick Tip: Always monitor the Serial output to debug connection and HTTP errors.

Method 2: Message Queuing Telemetry Transport (MQTT)
MQTT is a lightweight publish/subscribe protocol used in scalable IoT systems.
- Low bandwidth usage
- Real-time communication
- Highly scalable
a) Fundamental MQTT Concepts
Term | Meaning |
Broker | Server managing communication |
Client | Device sending/receiving data |
Topic | Channel (e.g., /home/temperature) |
QoS | Message reliability level |
b) Basic Arduino MQTT Example
#include
#include
const char* ssid = "YOUR_SSID";
const char* password = "YOUR_PASSWORD";
const char* mqtt_server = "broker.hivemq.com";
WiFiClient espClient;
PubSubClient client(espClient);
void setup() {
 Serial.begin(115200);
 WiFi.begin(ssid, password);
 client.setServer(mqtt_server, 1883);
}
Publishing Sensor Data
void loop() {
 if (!client.connected()) {
   reconnect();
 }
 client.loop();
 float sensorValue = analogRead(A0);
 char msg[50];
 sprintf(msg, "Sensor value: %.2f", sensorValue);
 client.publish("/home/sensors/analog", msg);
 delay(5000);
}
Reconnection Logic
void reconnect() {
 while (!client.connected()) {
   if (client.connect("ArduinoClient")) {
     Serial.println("connected");
   } else {
     Serial.print("failed, rc=");
     Serial.print(client.state());
     delay(5000);
   }
 }
}
This section directly supports:
- arduino mqtt example
- mqtt thingspeak integration concepts
- message queuing telemetry transport
Data Visualization
Platform | Connection | Visualization |
ThingSpeak | Built-in | Graphs, charts |
Node-RED + MQTT | Broker + flow | Dashboard |
Grafana + MQTT | InfluxDB | Advanced analytics |
ThingSpeak Dashboard
A ThingSpeak dashboard allows:
- Real-time charts
- Historical trends
- Multi-field comparison
Security Points to Remember
- Use WPA2-secured Wi-Fi
- Use MQTT over TLS (port 8883)
- Protect API keys
- Authenticate devices
Example:
WiFiClientSecure espClient;

PubSubClient client(espClient);
Sophisticated Adjustments
Optimization | How |
Reduce power usage | WiFi.mode(WIFI_STA) |
Batch data | Send JSON payload |
Reconnection strategy | Limit retries |
OTA updates | Wireless firmware updates |
Concluding Advice
- Always verify sensor readings before deployment
- Monitor connection failures (especially MQTT)
- Reduce data frequency on mobile networks
- Use watchdog timers for reliability
- Test locally before deploying to cloud
Final Thoughts
Choosing between ThingSpeak and MQTT depends on your project goals:
- Use ThingSpeak for quick setup and visualization
- Use MQTT for real-time, scalable communication
For advanced systems, combining both gives the best results, ThingSpeak for dashboards and MQTT for instant data delivery.
Mastering these techniques will significantly improve your ability to build professional IoT systems using Arduino.