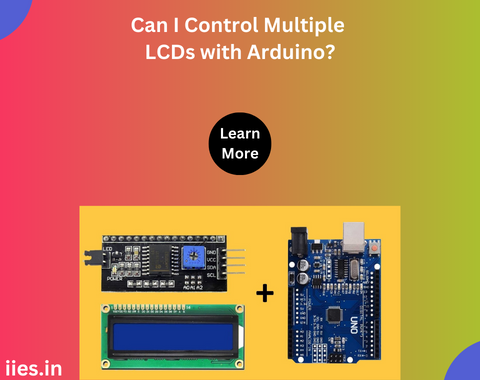
Controlling a Single LCD with Arduino:
The basic process of controlling an LCD with Arduino involves connecting the LCD to the microcontroller and utilizing a library to simplify the communication. The LiquidCrystal library, for instance, provides functions to initialize the LCD, set the cursor position, and print text. This straightforward process allows users to display information on a single LCD screen with ease.
Challenges of Controlling Multiple LCDs:
When it comes to controlling multiple LCDs with Arduino, several challenges arise. One significant challenge is the limitation of available I/O pins on the Arduino board. Each LCD typically requires several pins for communication, including data, control, and power pins. With a limited number of pins on most Arduino boards, connecting multiple LCDs directly becomes problematic.
To overcome this challenge, one must explore alternative solutions such as using I2C or serial communication. However, implementing these solutions might introduce additional complexities in terms of addressing, wiring, and synchronization.
Potential Solutions:
1.I2C (Inter-Integrated Circuit) Communication:
Utilizing I2C communication is a popular method for controlling multiple LCDs with Arduino. I2C allows multiple devices to communicate over a shared bus, reducing the number of required pins. This method involves connecting each LCD to a unique I2C address, enabling the Arduino to communicate with each display individually.
2. Multiplexing:
Another approach is to use multiplexers, such as shift registers or demultiplexers, to expand the number of available output pins. These components enable the connection of multiple LCDs to a single set of Arduino pins by selecting one LCD at a time. Although this method requires additional hardware, it offers a cost-effective way to control multiple displays.
3. Parallel Processing:
For scenarios where real-time synchronization is not critical, parallel processing can be considered. This involves connecting each LCD to a separate set of pins on the Arduino and updating them sequentially. While this method is simpler, it may introduce a delay in updating each display.
Practical Examples:
Let’s explore two practical examples to illustrate how one might control multiple LCDs with Arduino.
1. I2C Communication:
– Connect each LCD to the Arduino using I2C adapters.
– Assign a unique I2C address to each LCD.
– Use the Wire library in Arduino for I2C communication.
– Send commands and data to specific LCDs based on their addresses.
2. Multiplexing:
– Connect multiple LCDs to a single set of Arduino pins using a multiplexer.
– Use additional pins for selecting the active LCD.
– Update each LCD sequentially by switching between them.
– Implement a delay between updates to avoid flickering.
Expanding Possibilities: Advanced Techniques for Multi-LCD Arduino Projects
Now that we have explored the fundamental concepts of controlling multiple LCDs with Arduino, let’s delve into advanced techniques and considerations for those seeking to push the boundaries of their projects.
1. Advanced Multiplexing:
While basic multiplexing can help connect several LCDs to a single set of pins, advanced multiplexing involves using specialized ICs like the MAX7219 or MAX7221. These integrated circuits simplify the process of controlling multiple displays, providing a cascading effect where one IC can drive multiple LCDs. This not only reduces the number of required pins but also enhances scalability for larger projects.
2. Display Synchronization:
In scenarios where precise synchronization between displays is crucial, advanced programming techniques can be employed. By carefully managing the timing of commands and updates, it’s possible to create a seamless visual experience across multiple LCDs. This becomes particularly important in applications where animations or scrolling text need to flow seamlessly from one display to the next.
3. Touchscreen Integration:
For projects requiring user interaction, integrating touchscreens with multiple LCDs adds a new layer of complexity. Specialized touchscreen shields or modules can be connected to the Arduino, providing both input and output capabilities. This opens up possibilities for interactive displays, such as multi-panel data visualization or interactive menus.
4. Dynamic Content Distribution:
In certain applications, dynamically distributing content across multiple displays is essential. This involves creating algorithms that distribute and update content based on the relevance of information to each display. For instance, in a weather monitoring system with multiple LCDs, each display could focus on a specific geographical area’s weather information.
5. Wireless Communication:
For projects requiring a more flexible setup, incorporating wireless communication can be advantageous. Wi-Fi or Bluetooth modules can be integrated into the Arduino, allowing for remote control or data transmission. This is particularly useful in applications where the physical distance between displays makes wired connections impractical.

